Managing Groups
Groups are the primary way to organize your teams, projects, and resources within Flexus. A well-structured set of groups makes it easy to manage access, assign work, and keep your workspace tidy.
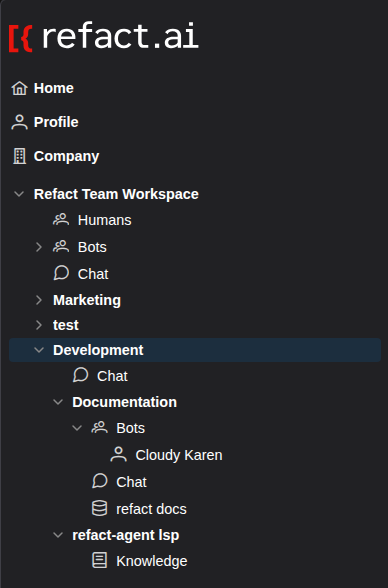
What are Groups?
Think of groups as folders in your file system. They are containers that can hold:
- People: Members of a team or project.
- Bots: Automations and agents that work within a specific context.
- Chats: Conversations related to the group’s topic.
- Other Groups: You can nest groups to create a clear hierarchy, such as
Company -> Engineering -> Backend Team.
How to Create a Group
There are two primary ways to create a new group in Flexus, depending on your context.
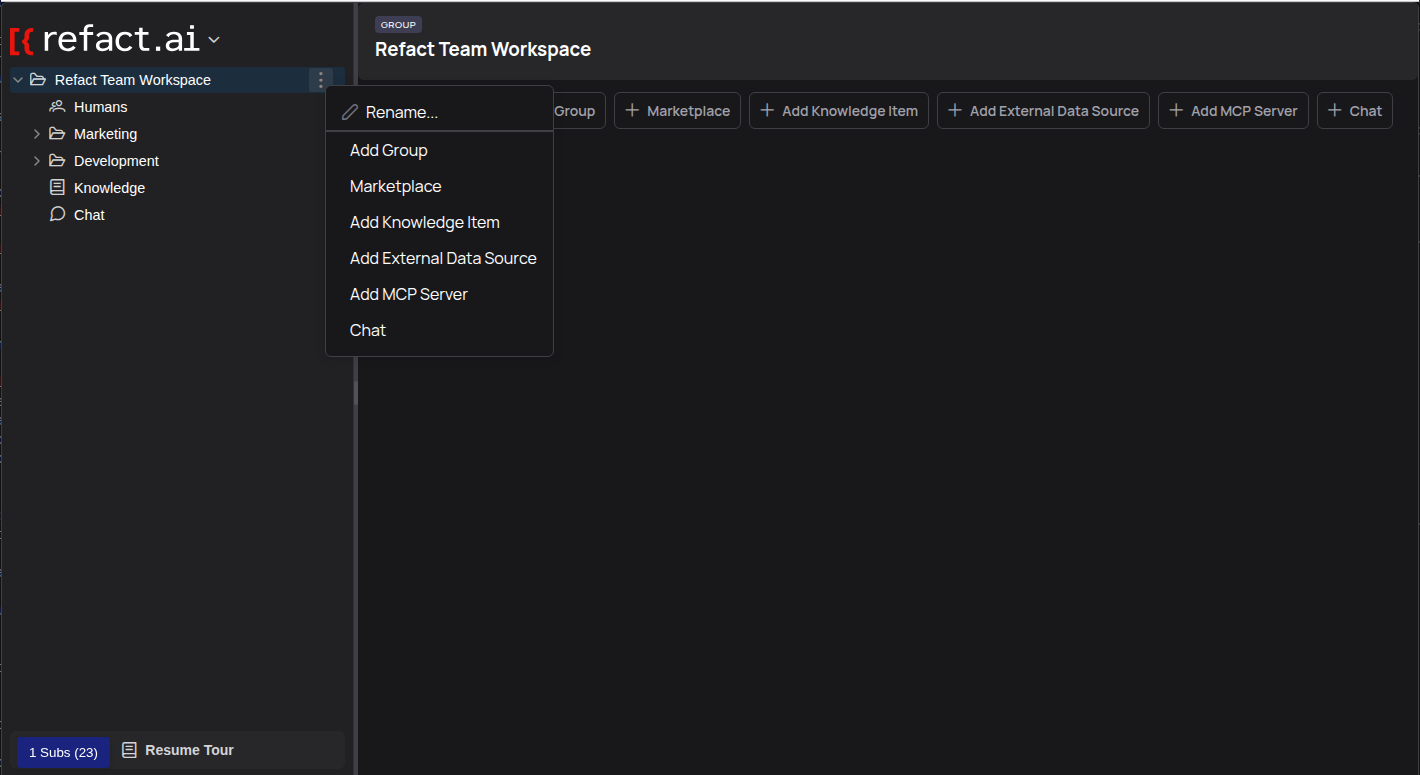
Method 1: Using the Context Menu
This method is useful when you are already working within the sidebar.
-
In the left sidebar, right-click on the workspace name or an existing group where you want to add a new subgroup.
-
Select Add Group from the context menu.
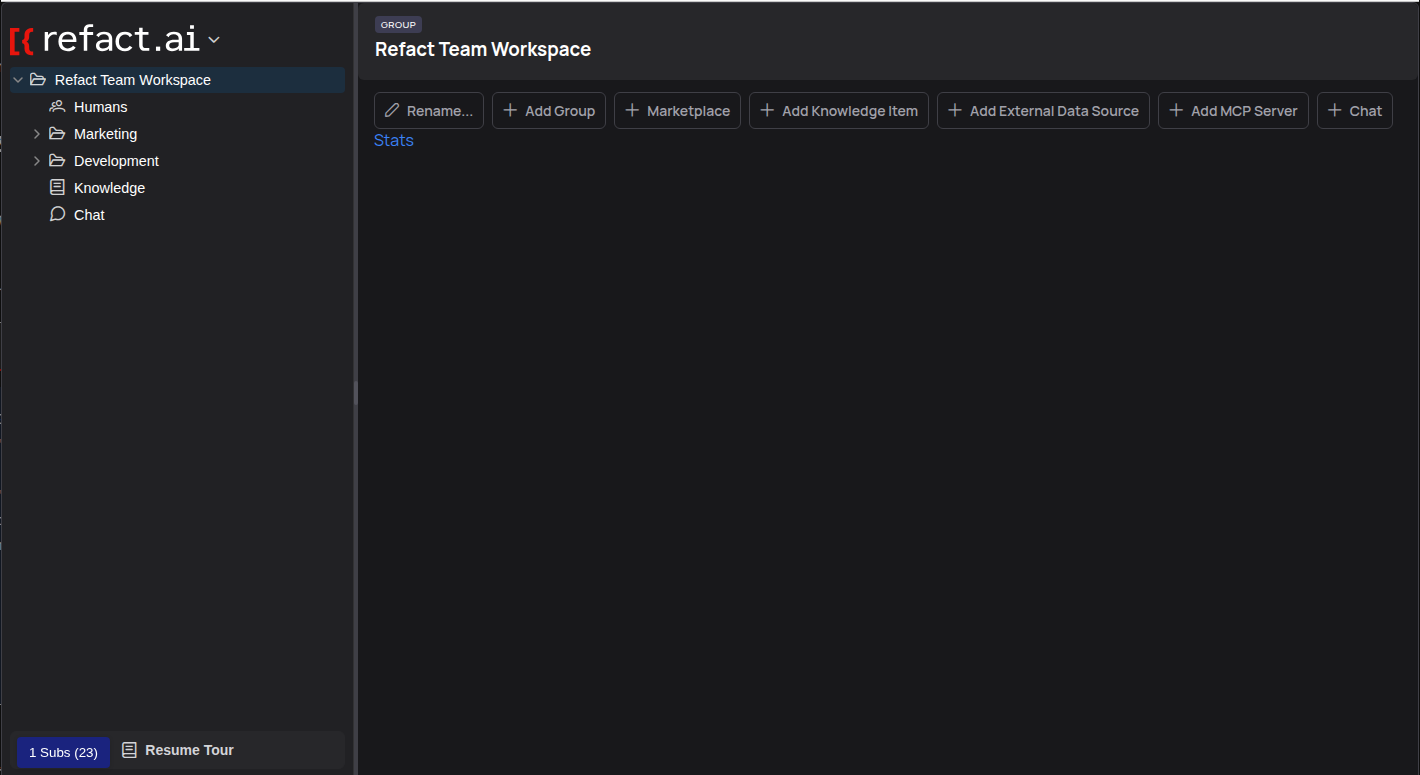
Method 2: Using the ’+ Add Group’ Button
This button is available in the main content header when you have selected a group or the workspace root.
-
Select the desired parent group or the workspace root in the sidebar.
-
Click the + Add Group button in the header area.
Finalizing the Group
Both methods will open the same dialog box.
-
Enter a descriptive name for your new group (e.g., “Marketing” or “Q4 Project”).
-
Click Add.
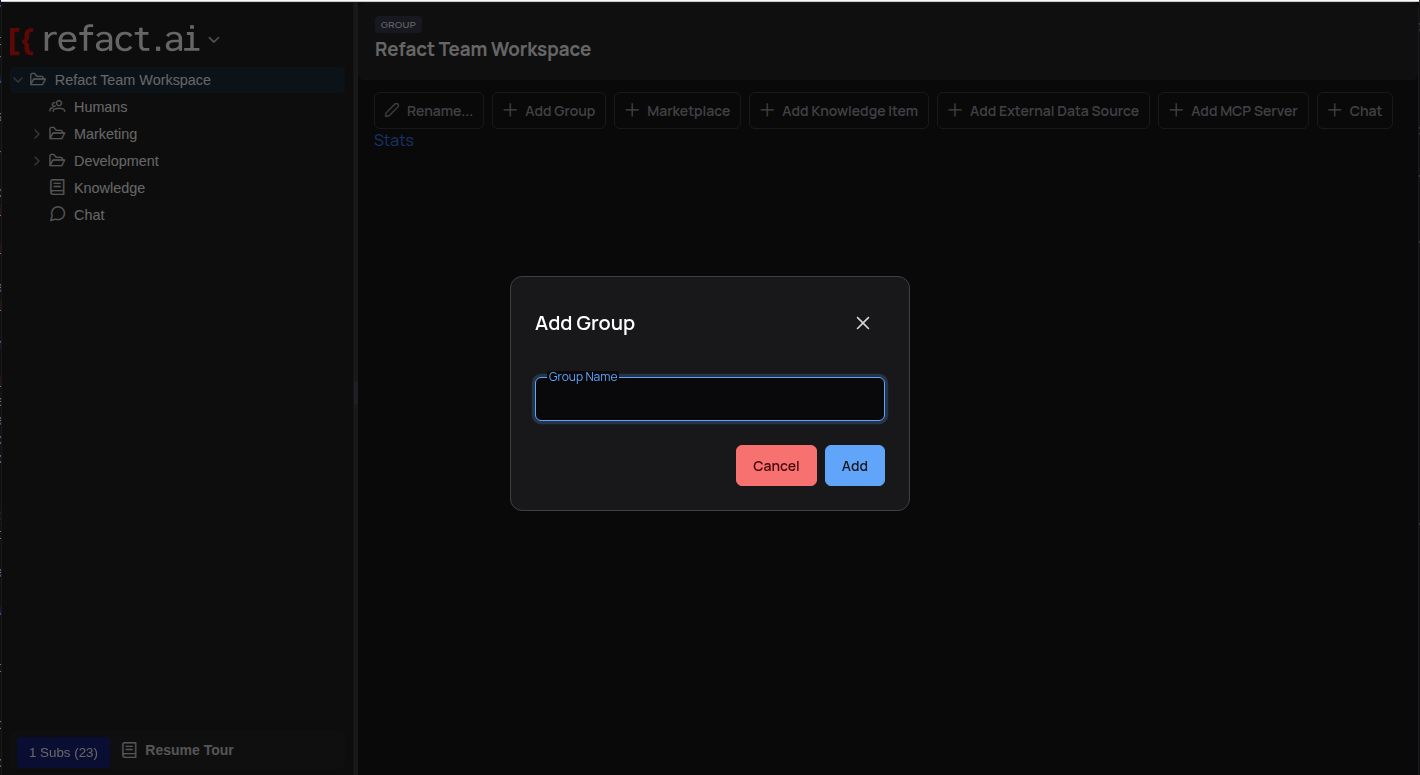
Your new group will immediately appear in the sidebar.
Your new group will immediately appear in the sidebar.
Use clear and descriptive names for your groups. “Frontend Team” is much more helpful than “Team 1”. This helps everyone understand the purpose of the group at a glance.
How to Rename a Group
If a team’s name changes or you want to clarify a group’s purpose, you can easily rename it.
- Right-click on the group you wish to rename.
- Select Rename… from the context menu.
- Enter the new name in the dialog box and confirm.
How to Delete a Group
Deleting a group removes it and all its contents from your workspace. This action should be performed with care.
- Right-click on the group you wish to delete.
- Select Delete from the context menu.
- A confirmation dialog will appear to prevent accidental deletion.
When you delete a group, all associated data, including chats and configurations within that group, will be permanently lost. This action cannot be undone.
Next Steps
Now that you know how to manage groups, you can start structuring your workspace:
- Invite your team: Learn how to add members to your groups.
- Set up bots: Create your first bot inside a group.