Setting up Bots
Flexus offers a range of pre-built bots in the AI Agent Marketplace that you can install and configure for your team without writing any code. This guide will walk you through the correct process.
Step 1: Select a Group
First, you need to decide which group the bot will belong to. Bots are always installed within the context of a specific group, and their operations will be confined to it.
-
In the left-hand sidebar, navigate to the “Company” section and click on the group you want to install the bot into.
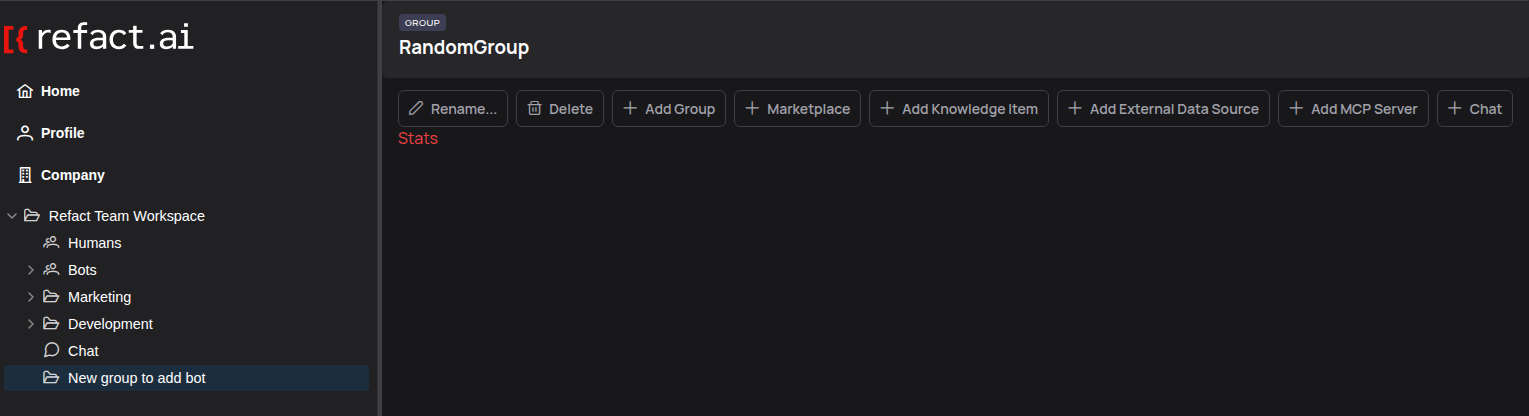 Make sure you have the correct group selected before proceeding.
Step 2: Open the Marketplace and Choose a Bot
Once you are in the context of your chosen group, you can access the Marketplace.
-
Click the + Marketplace button in the group’s action panel at the top.
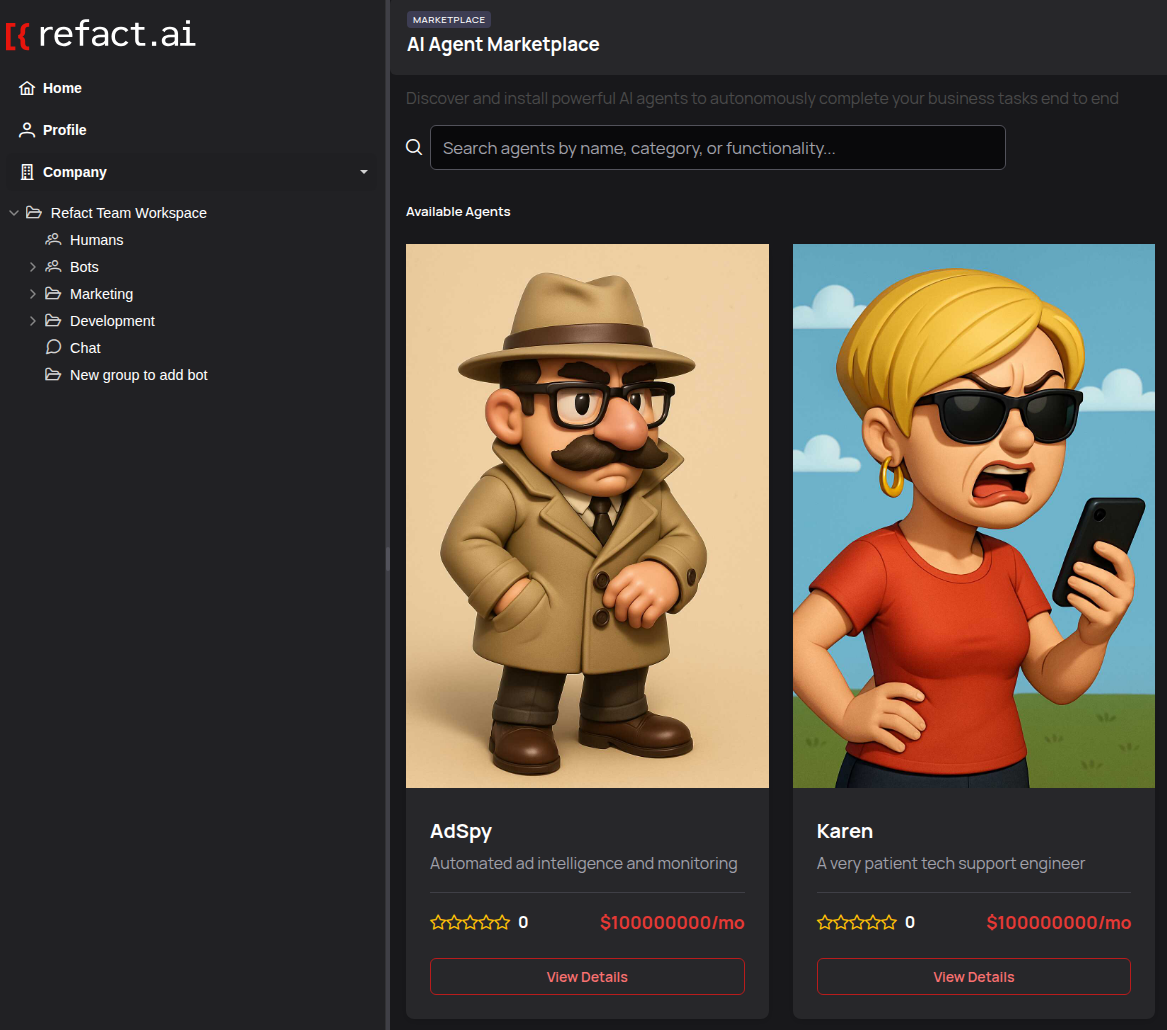 This will open a gallery of available AI agents.
 -
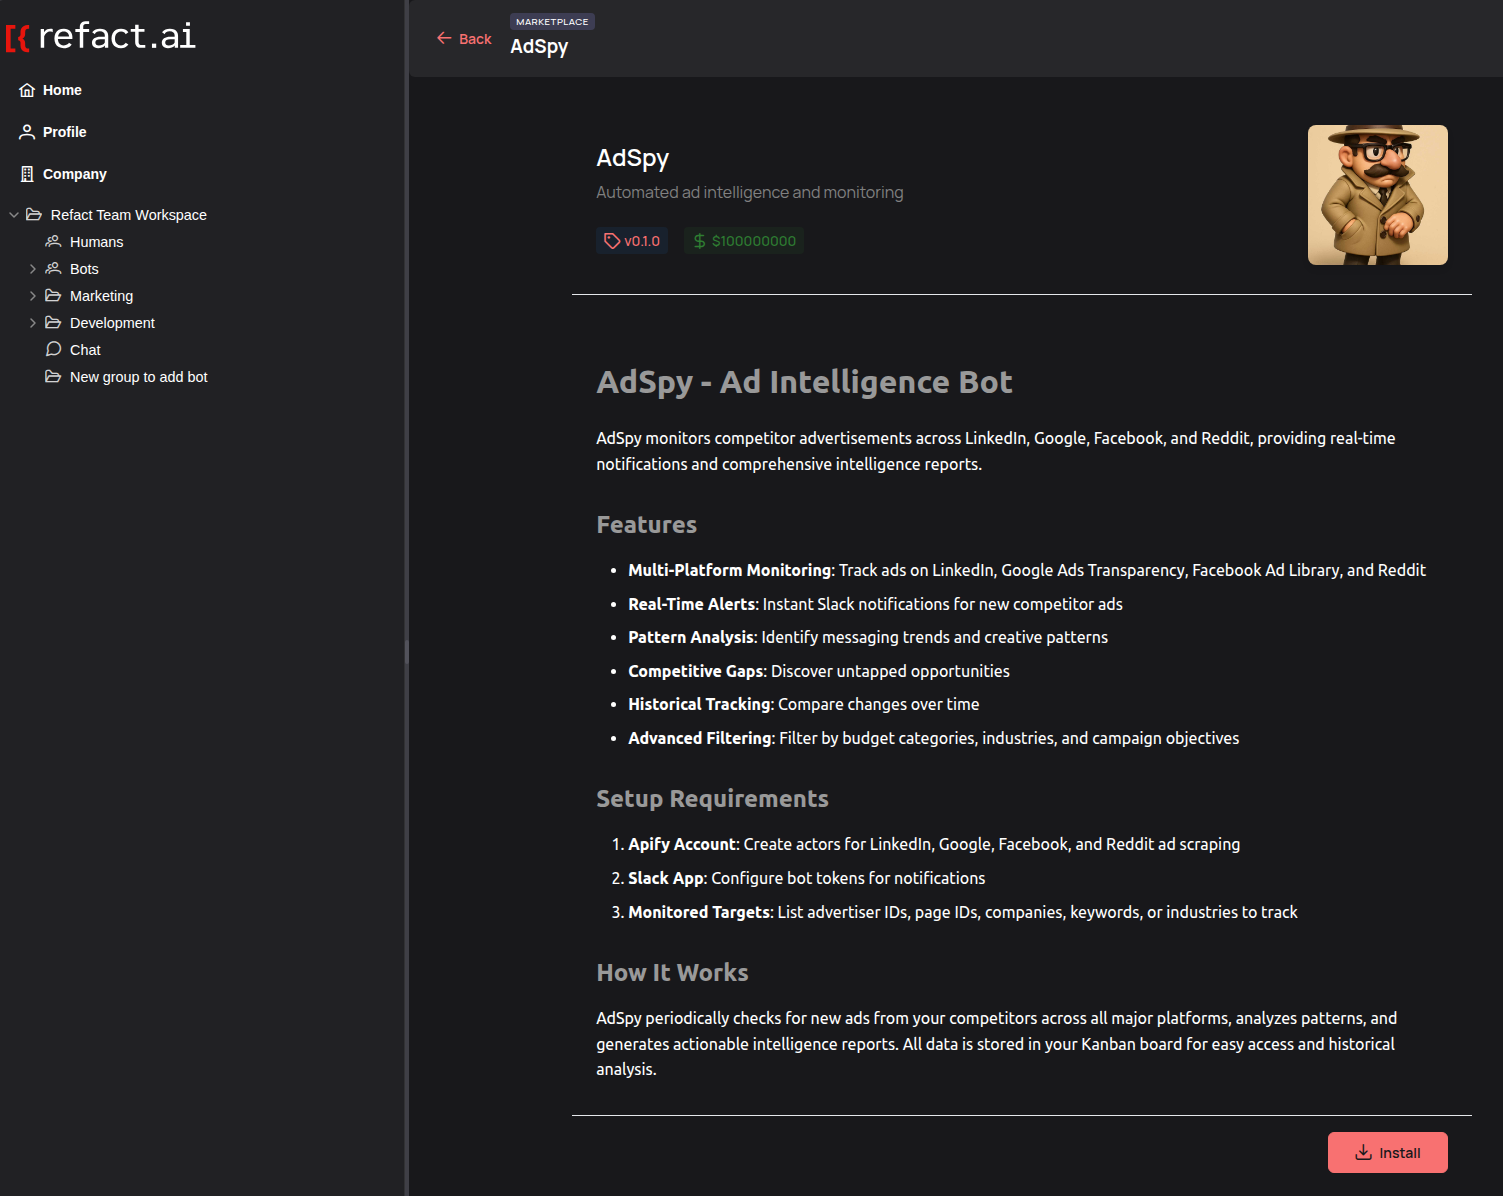
Browse the list of available agents. Click on any bot (e.g., “AdSpy”, “Karen”) to view its capabilities.
-
On the bot’s detail page, review its features, setup requirements, and how it works. When you’re ready, click the Install button.
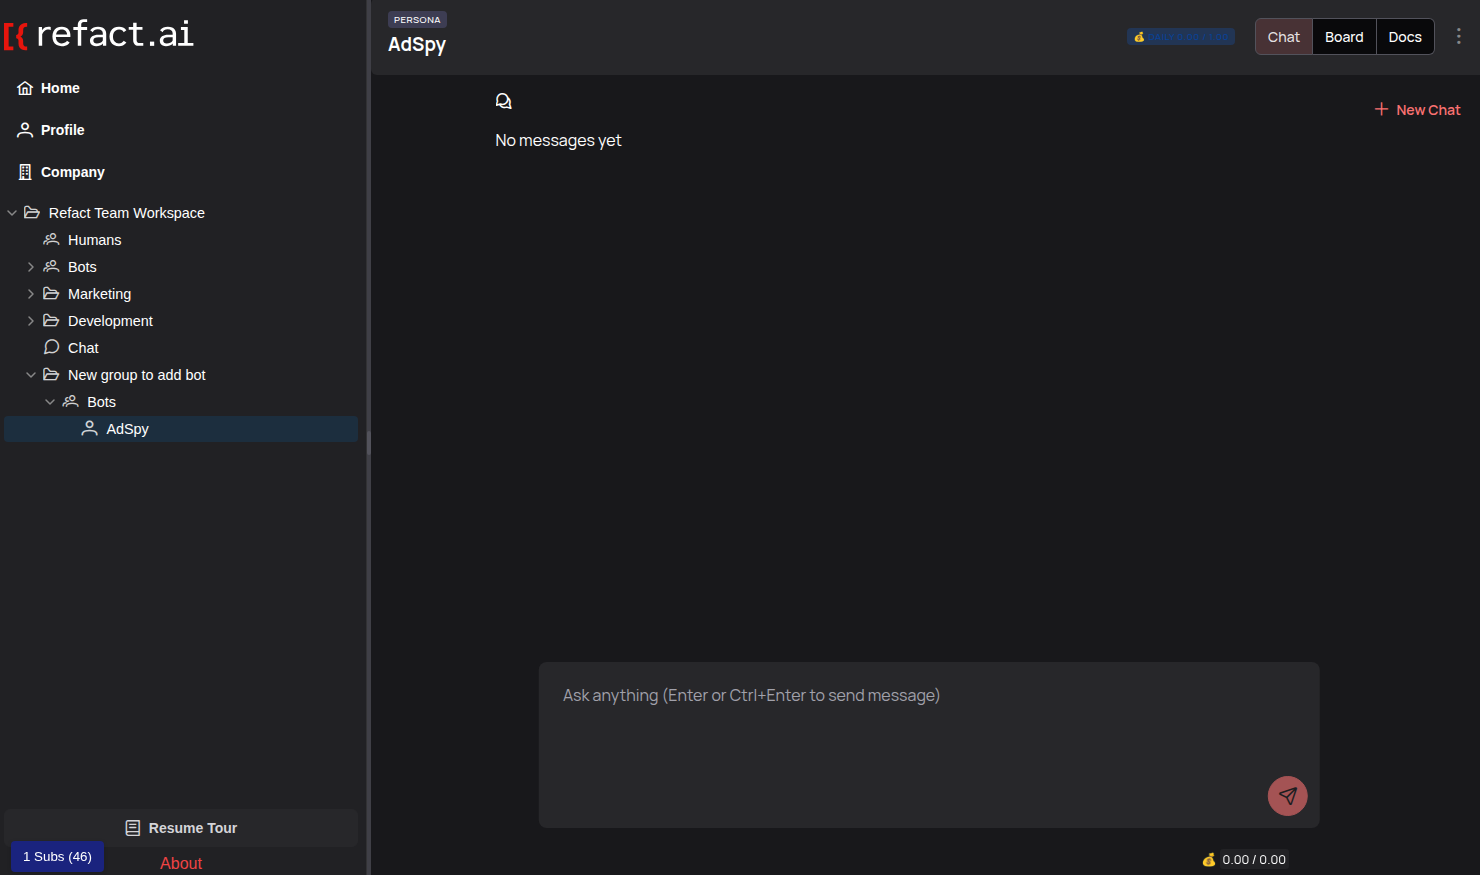
Step 3: Find and Configure Your New Bot
After a successful installation, the bot will appear in the left sidebar under the “Bots” section of the group you selected.
-
Locate your new bot in the sidebar. It may take a moment to appear.
-
Click on the bot’s name to open its main interface. From here, you can begin to interact with it or configure it further.
-
To customize the bot, navigate to its settings page. This is where you can edit its Persona configuration (
persona_setup) to tailor its behavior to your team’s specific needs. Common settings include API keys, target channels for notifications, or specific keywords to monitor.
That’s it! Your bot is now installed and ready to be configured for your specific workflow.
For developers who want to build bots from scratch, see our Creating a New Bot guide.