

Registration & Workspace Setup
Get Flexus up and running for your organization with this comprehensive installation guide.
1. Create Your Account
When you visit flexus.team, you are immediately directed to the login page. From here, you can either log in or create a new account.
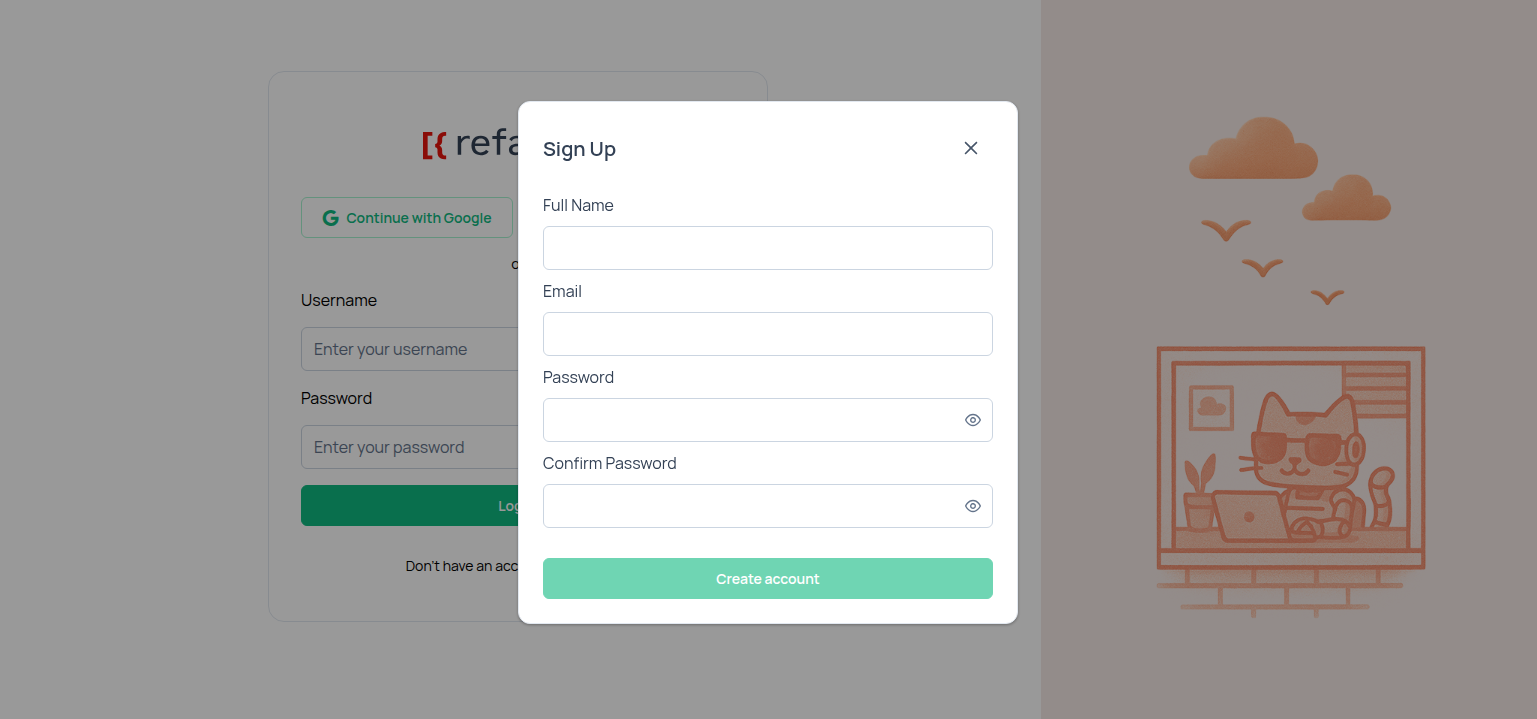 The login page with the ‘Sign Up’ modal open.
- To sign up with email, click the “Don’t have an account?” link to open the registration form.
- Fill out the following fields:
- Full Name
- Password
- Confirm Password
- Click “Create account”.
- Alternatively, you can sign up or log in much faster using Google or GitHub.
- After creating your account, you may be asked to verify your email address before you can proceed.
2. Create Your First Workspace
After your first login, you will be prompted to create a Workspace. You can either create a Personal Workspace for yourself or join an existing team workspace if you have an invitation.
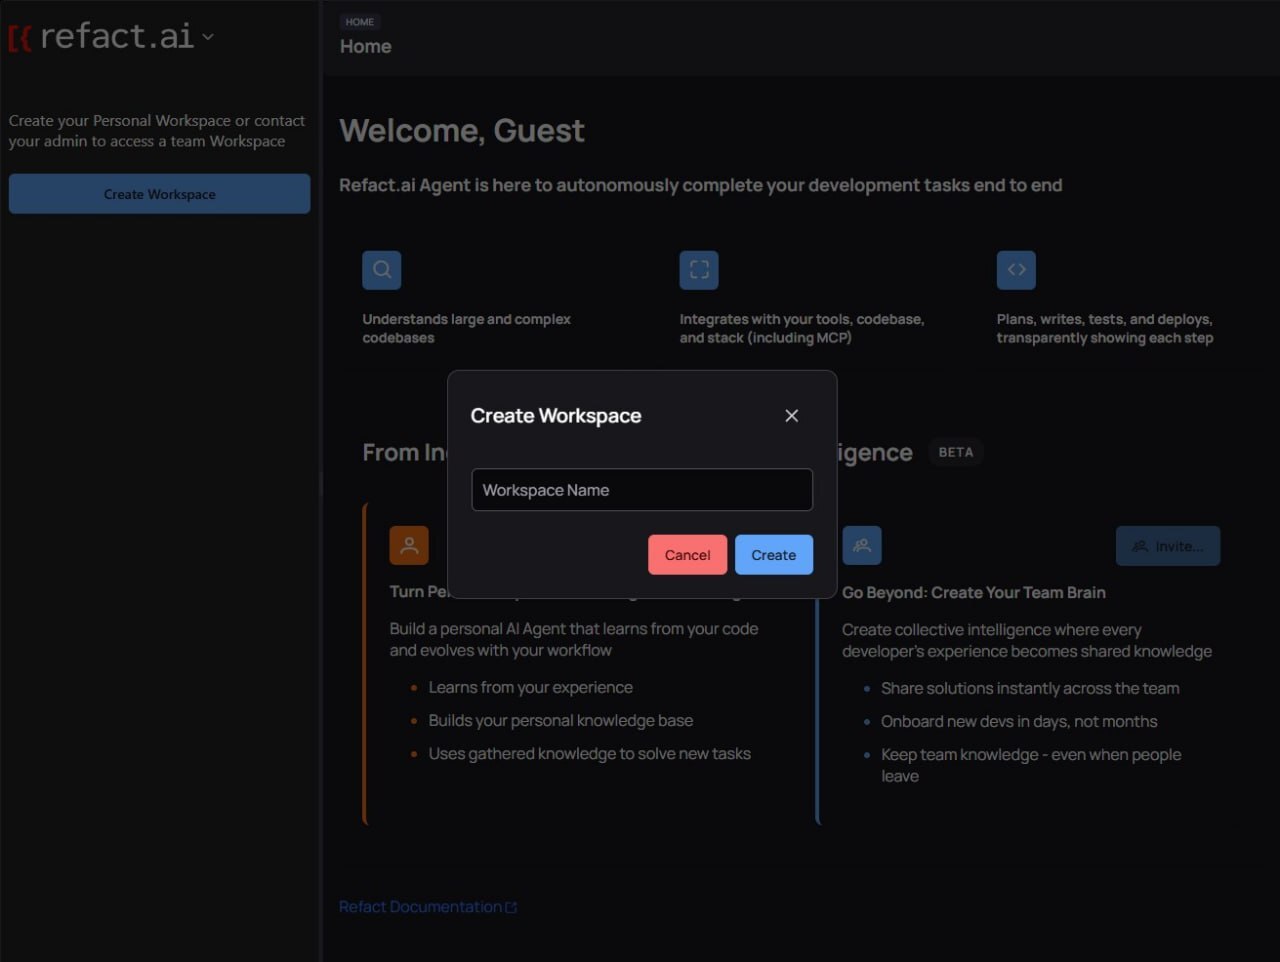 The dialog for creating a new workspace, which appears on the first login.
- Click the “Create Workspace” button on the left sidebar.
- A dialog box will appear, prompting you for a Workspace Name.
- Enter a name for your workspace and click “Create”.
What is a Personal Workspace?
A Personal Workspace is your own private space to use Flexus. You can build your personal knowledge base, create your own bots, and manage your tasks. You can always invite others later or join a team workspace.